A cracked wooden shovel handle can turn a simple outdoor task into a painful safety risk. Loose fibers may split further when the blade meets hard soil, gravel, or frozen ground. Before choosing a repair, inspect the crack under bright light and clean away dirt, oil, and loose wood. Check the socket, ferrule, and blade connection as well. A damaged handle is not always worth saving.
This guide explains how to repair a cracked wooden handle on a shovel using practical methods suited to different types of damage. Small surface cracks may respond to wood glue, clamps, and careful sanding. Deeper splits can require epoxy, reinforcing screws, or a fitted wooden dowel. Each method has limits. Strong adhesive cannot restore severely crushed wood, and excessive tightening may create another crack.
Work slowly. Dry the handle completely before applying any repair material. Keep the shovel supported on a stable bench, and wear eye protection while drilling, sanding, or removing metal parts. I have found that patience matters more than force, especially when aligning split fibers. Still, repairs are not magic. If the handle bends, feels soft, shows rot, or remains loose after treatment, replacement is usually the safer choice.
The ten approaches below compare tools, materials, drying times, and suitable repair conditions. They also point out common mistakes, such as filling a dirty crack or using the shovel too soon. A repaired handle should feel solid, balanced, and comfortable before returning to heavy work. Test it carefully. Reliability comes from inspection, not optimism.
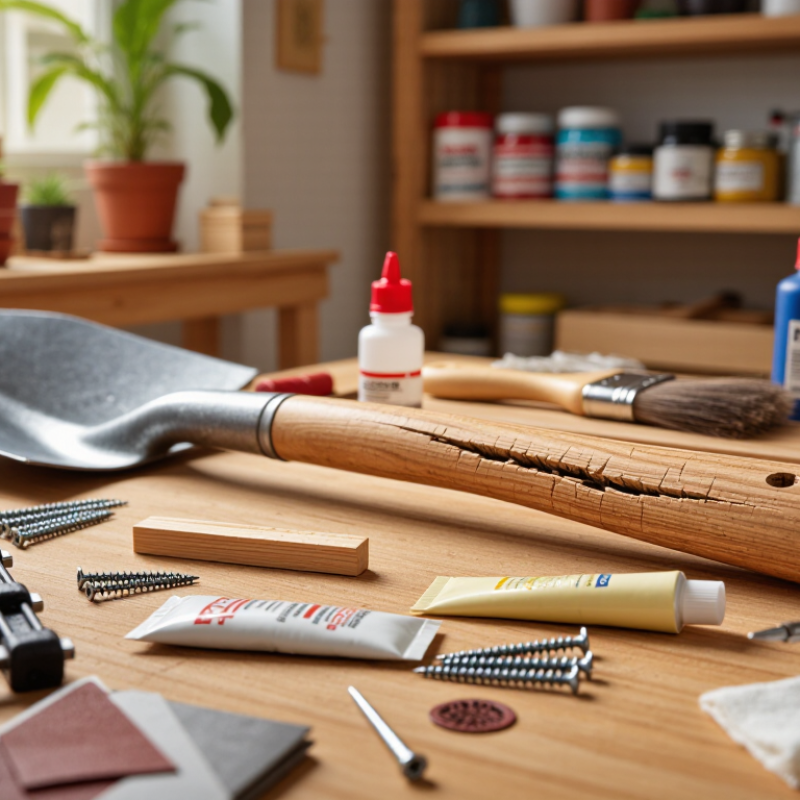
Top 10 Ways to Fix a Cracked Wooden Shovel Handle
Begin by cleaning the handle and drying it indoors. Do not judge the crack by appearance alone. Measure its length with a ruler, then inspect its depth using a thin probe. A shallow line may need sanding and sealing, while a crack reaching the center signals structural weakness. Check for movement around the damaged area. Any flexing, sharp splinters, or widening under pressure deserves serious attention. Use a moisture meter before applying glue or epoxy. Aim for handle moisture between 8% and 12%. Wood that is too wet may shrink later and reopen the repair.
Small cracks can be filled with suitable wood adhesive, then clamped gently until cured. Deeper cracks may require epoxy, a wooden spline, or a carefully fitted dowel. Sand only after the repair hardens. A tight wrap with strong cord can support a minor surface split, but it cannot repair a loose handle. For long cracks near the socket, replacing the handle is usually safer than adding more filler. I once trusted a neat-looking patch that still flexed during digging. That was a poor test. Check the repair with controlled pressure, not a full-force swing. Recheck moisture and crack movement after several days, especially when the shovel moves between a dry shed and damp soil.
Clean away soil and loose fibers with a stiff brush. Dry the handle indoors. Measure the crack with a ruler. Use a thin probe to estimate its depth. Watch for flexing, splinters, or widening. Appearance can mislead.
Aim for 8% to 12% moisture. Use a moisture meter before applying adhesive. Wet wood may shrink later. The crack could reopen. Let the handle dry fully first.
Yes, if the wood remains stable. Fill the crack with suitable wood adhesive. Clamp it gently until fully cured. Sand the area afterward. Do not sand too early.
Open the split slightly with a thin wedge. Do not force it wider. Apply slow-curing wood epoxy deep inside. Spread it with a narrow stick. Remove the wedge, then add padded clamps. Allow at least 24 hours of curing.
Tighten the clamps gradually. Excess pressure can squeeze out adhesive. It may also deform the wood. Wipe away residue before it hardens. Gentle pressure is enough.
A hardwood dowel can bridge a lengthwise split. Drill aligned holes through healthy wood on both sides. A sleeve can surround a damaged section. A metal ferrule can support the neck near the blade. Measure twice.
A tight wrap can support a minor surface split. Apply several overlapping layers evenly. Keep the grip comfortable. Wrapping cannot fix a loose handle. It only provides extra restraint.
Remove the clamps after curing. Sand sharp adhesive edges lightly. Apply controlled hand pressure first. Check for movement, creaking, or reopening. Do not begin with a full-force swing. I once trusted a neat patch. It still flexed.
Replace it when the crack reaches the center or socket. Replacement is safer for long cracks near the socket. Crushed wood, bending, or repeated reopening also signals failure. More filler will not restore dependable control. Stop using it.
A cracked wooden shovel handle should be assessed carefully before any repair begins. Inspect the crack’s length, depth, location, and whether the wood moisture level is approximately 8–12%. Minor surface splits may be repairable, while deep cracks near the grip, shoulder, or tool head can make replacement the safer choice. Understanding how to repair a cracked wooden handle on a shovel starts with deciding whether the damage can be stabilized without compromising strength.
For suitable repairs, gently align the split with clamps or wedges, apply wood epoxy, and allow at least 24 hours for a full cure. Additional reinforcement may include a properly fitted ferrule, wooden dowels, a sleeve, or a strong wrap, depending on the crack and handle shape. Afterward, sand the repaired area gradually from about 120 to 220 grit until it is smooth and comfortable to hold. Before use, check that the handle is secure, the tool head is firmly attached, and no movement, sharp edges, or new splitting remains.

 Pargo Tool