Garden hoses are essential tools for any gardener, but leaks can be frustrating. Knowing how to fix a leaking garden hose connector can save time and water. According to horticulture expert Mark Green, “A small leak can lead to big problems if not addressed.” Understanding how to handle these issues is crucial.
When a connector leaks, it often indicates wear or a poor seal. Identifying the source of the leak is the first step. Tools like pliers, tape, or new washers may be necessary. Regular maintenance can prevent these leaks before they start. The act of checking your connectors is often overlooked but can make a significant difference.
Taking the right approach is key. Sometimes, a minor adjustment can fix the leak immediately. Other times, replacing parts may be the better route. Reflecting on your garden’s needs will help develop efficient practices. Each garden is unique, and what works for one may not work for another.
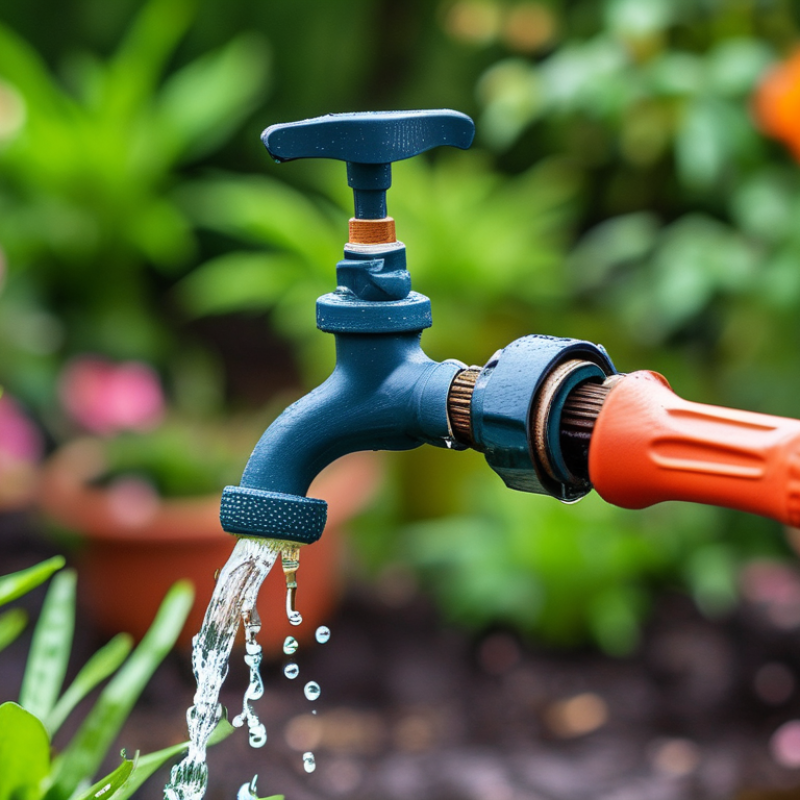
A leaking garden hose connector can be frustrating. Understanding the causes is the first step in resolving the issue. One common cause is wear and tear. Over time, rubber washers can deteriorate or harden, leading to leaks. Inspect your connector for cracks or damage. Even minor imperfections can create significant problems.
Another issue is improper attachment. If the hose isn’t properly secured to the connector, water can seep out. Make sure to tighten it firmly. Using pliers may help, but be cautious. Over-tightening can cause more harm than good. Additionally, dirt and debris can accumulate in the threads, preventing a tight seal. Clean the connector regularly to minimize this risk.
Temperature changes can also play a role. Extreme heat or cold can affect the materials of your connector. Frequent expansion and contraction can lead to leaks. Regularly check your connections, especially before and after seasonal changes. Awareness of these common issues can help you maintain your hose better. Remember, leaks can grow, so addressing them early is crucial.
| Tip Number | Tip | Description |
|---|---|---|
| 1 | Tighten the Connector | Use a wrench to ensure the connector is snugly tightened to prevent leaks. |
| 2 | Replace Washer | Check and replace the rubber washer inside the connector if worn out or damaged. |
| 3 | Use Teflon Tape | Wrap Teflon tape around the threads of the hose connector for a better seal. |
| 4 | Inspect for Cracks | Check the connector for any visible cracks and replace it if necessary. |
| 5 | Use a Hose Connector Adapter | Consider using a hose connector adapter for a better fit if sizes don’t match. |
| 6 | Avoid Over-tightening | Be careful not to over-tighten the connector, which can cause damage and lead to leaks. |
| 7 | Clean Threaded Areas | Clean any dirt or debris from the threaded connections to ensure a good seal. |
| 8 | Check for Kinks | Make sure there are no kinks in the hose that might contribute to pressure leaks. |
| 9 | Consider a New Hose | If leaks persist, it may be time to invest in a new hose or connector. |
| 10 | Seek Professional Help | If you're unsure, consult a gardening expert for advice on fixing the issue. |
: You’ll need pliers, a wrench, a utility knife, and replacement washers.
Use a utility knife to cut it off cleanly. Be cautious not to fray the hose.
Cracks or weakness in the hose may require replacement to prevent future leaks.
Attach it carefully and avoid overtightening. This helps prevent damage.
Check for misalignment or consider using a different size connector.
Regularly check for wear, replace old washers, and use plumber’s tape.
Yes, it helps ensure a tighter seal and can reduce the risk of leaks.
Look for stiffness, cracks, or kinks. These can lead to connector leaks.
A snug fit is sufficient; avoid over-tightening to protect both the hose and connector.
Regular inspections are essential to catch wear before it leads to frustrating leaks.
In this article, we explore how to fix a leaking garden hose connector by understanding the common causes of leaks and providing practical solutions. The first step involves recognizing potential issues such as wear and tear, dirt accumulation, or improper connections that can lead to leaks. Equipped with basic tools and materials, follow a step-by-step guide to effectively tighten hose connectors or, if necessary, replace damaged connectors with ease.
Additionally, we emphasize the importance of preventative measures to prolong the lifespan of your garden hose connectors. Regular maintenance, including cleaning and proper storage, can significantly reduce the likelihood of leaks in the future. By following these tips, you'll ensure a more efficient and longer-lasting garden hose system, effectively addressing any leakage problems.

 Pargo Tool